
Why the corner is the first place to fail
On a tensioned PVC product, the corner carries pull from two directions at once. That is where the fabric wants to open, twist or lift when wind, handling or repeated fitting puts load on the same point. If the edge is only folded once, the stress stays concentrated in a small area and the material starts to crack or pull through, especially on large banners and tarpaulins used outdoors in places like Johannesburg or along the coast where moisture and movement work the seams hard.
Good corner reinforcement gives the load a wider path. Instead of one sharp point taking the full strain, the weld spreads the force into the body of the fabric and into the adjoining hems. That is the difference between a neat corner that lasts and one that frays after a few jobs.
Seam placement that keeps the stress moving
Corner work is not only about extra layers. Seam placement matters just as much. When a weld runs straight into a corner with no relief, the edge can become stiff and the pull lands on the same line every time. On banners, truck covers and tent panels, it is better to plan the seam so the corner patch, hem and main body share the load instead of competing for it.
- Keep the main seam line away from the sharpest bend where possible.
- Use a wider corner patch on larger panels that carry more wind load.
- Allow enough overlap so the weld has a full bond area, not just a narrow strip.
- Match the corner shape to the job, square, rounded or tapered depending on the pull path.
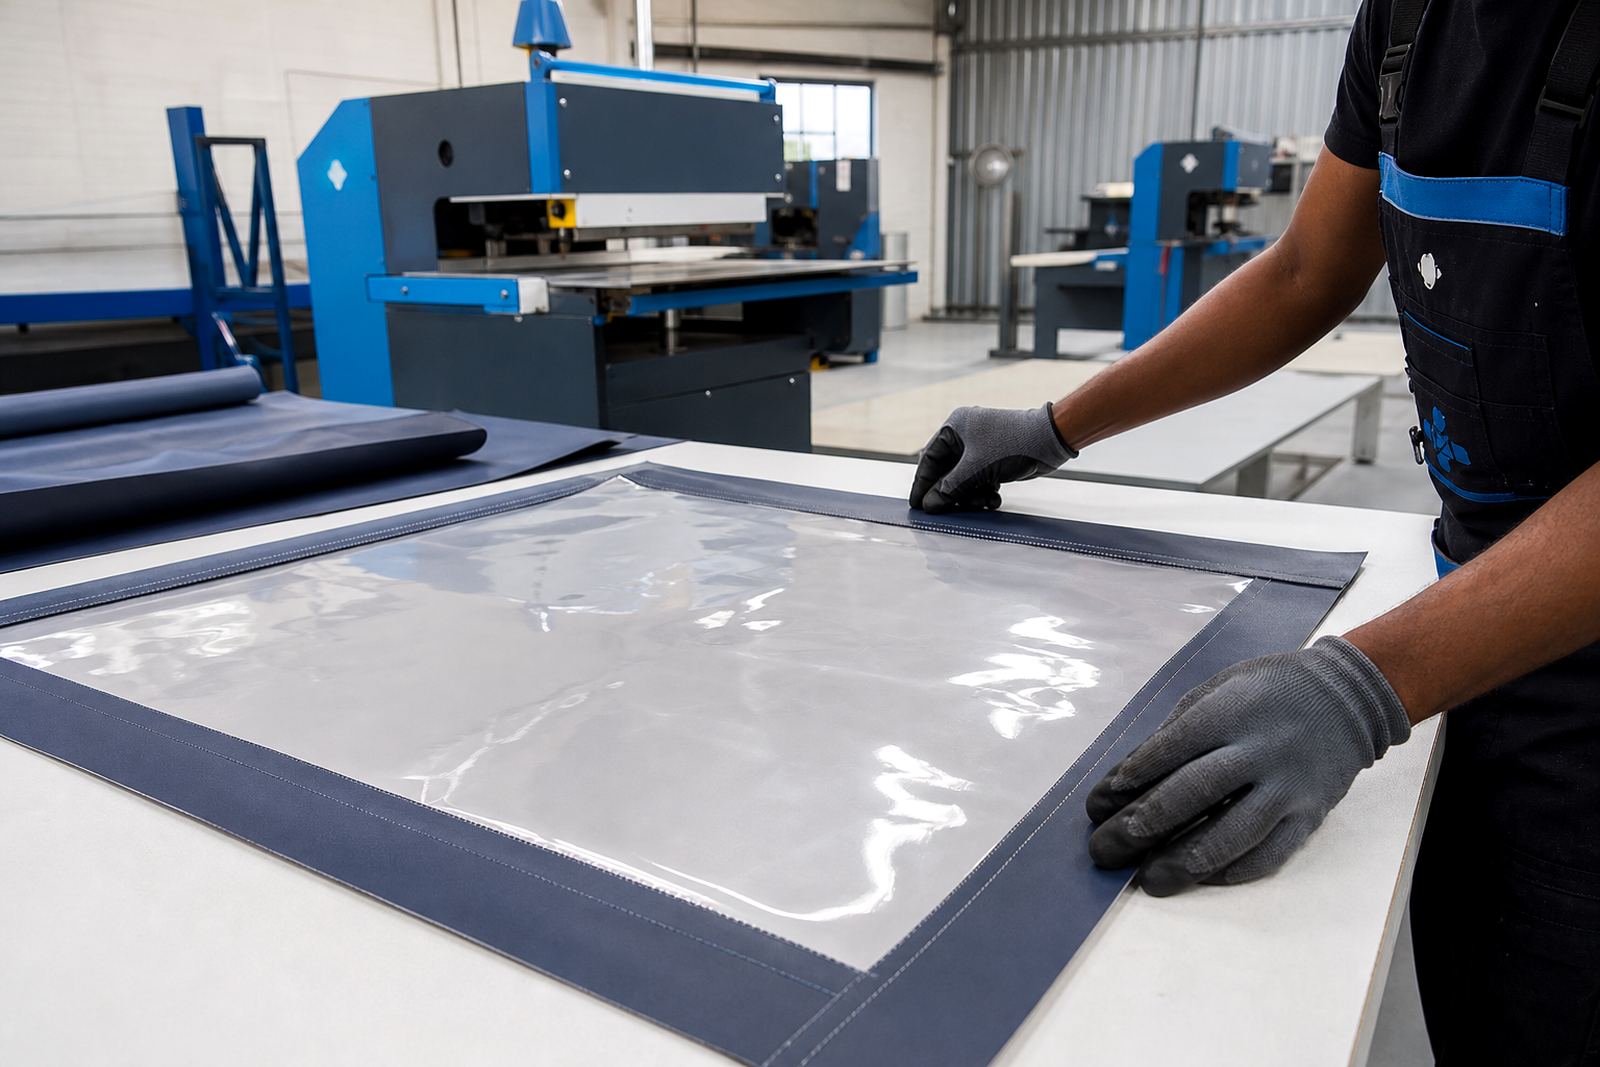
On site, a clean layout helps the operator align the pieces before welding begins. That matters with high-frequency welding on PVC-coated fabrics, where the seam must be positioned accurately before the electrode closes. It also matters with hot-air or hot-wedge work, where the operator needs steady control to keep the edge flat and the overlap even.
Choosing the right corner build for the job
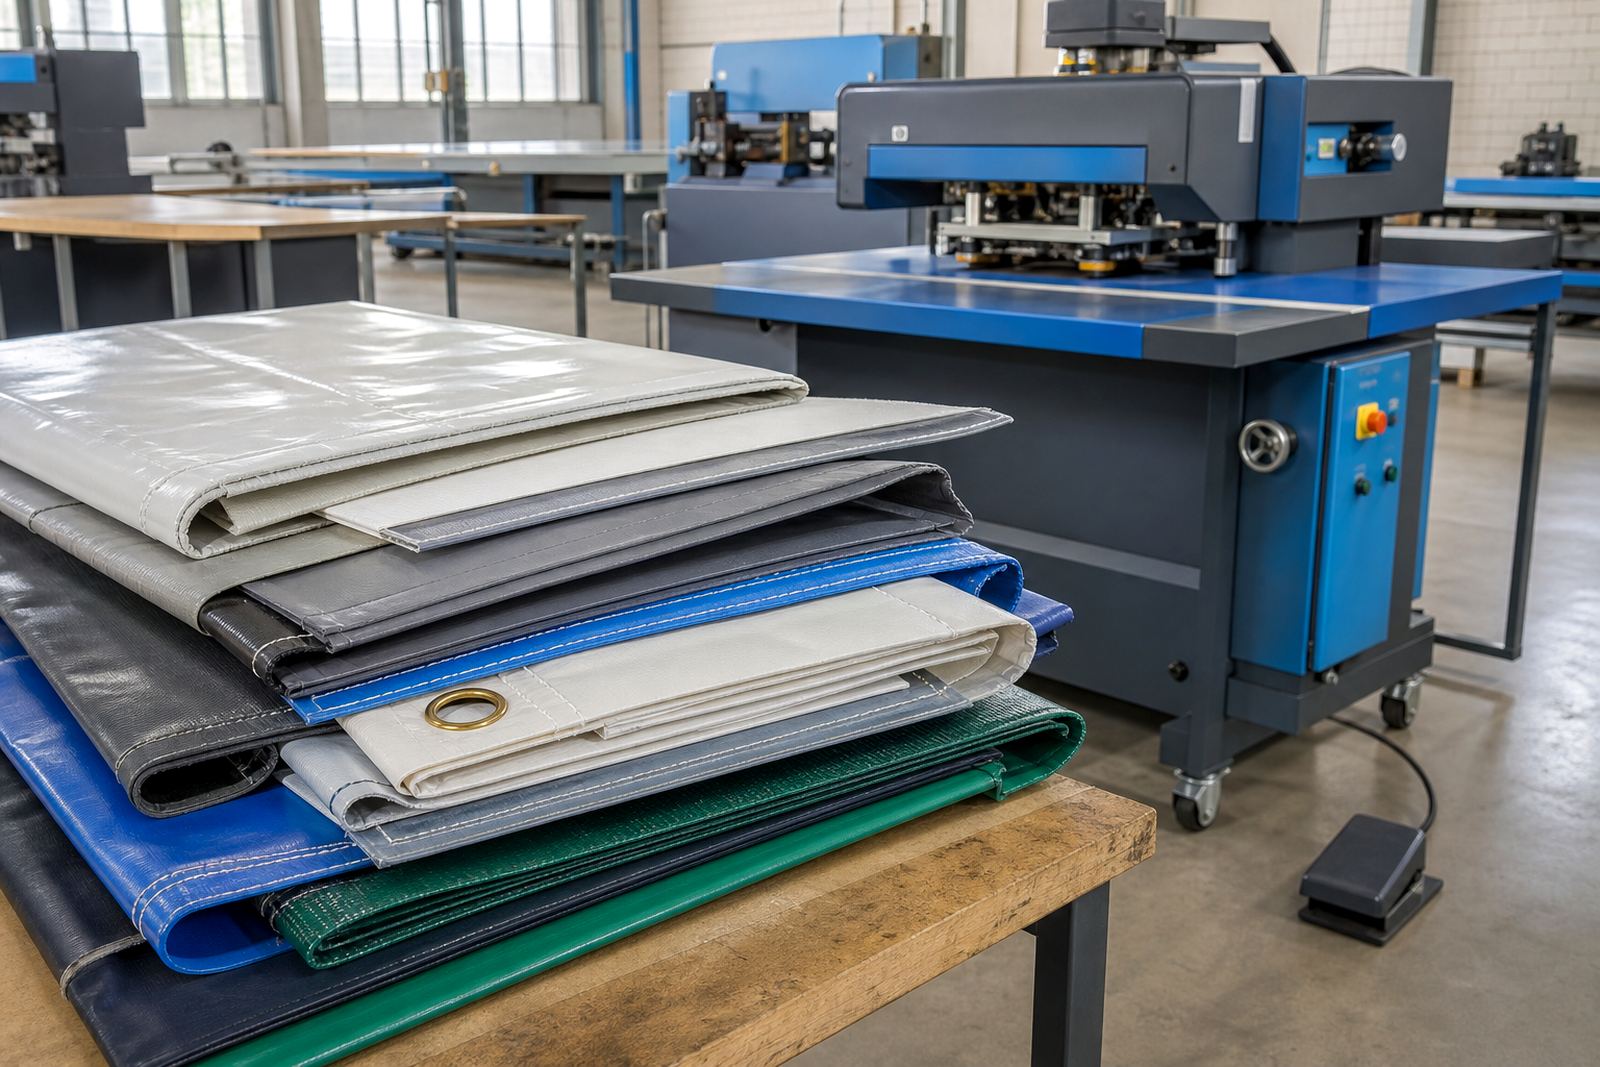
Not every product needs the same corner detail. A small banner for indoor display does not carry the same load as a tarpaulin on a trailer or a tent panel exposed to wind and repeated tying down. The shape, size and finish of the corner should match the application. In practical terms, the corner needs enough material to resist tearing, but not so much bulk that it creates a hard lump or distorts the panel.
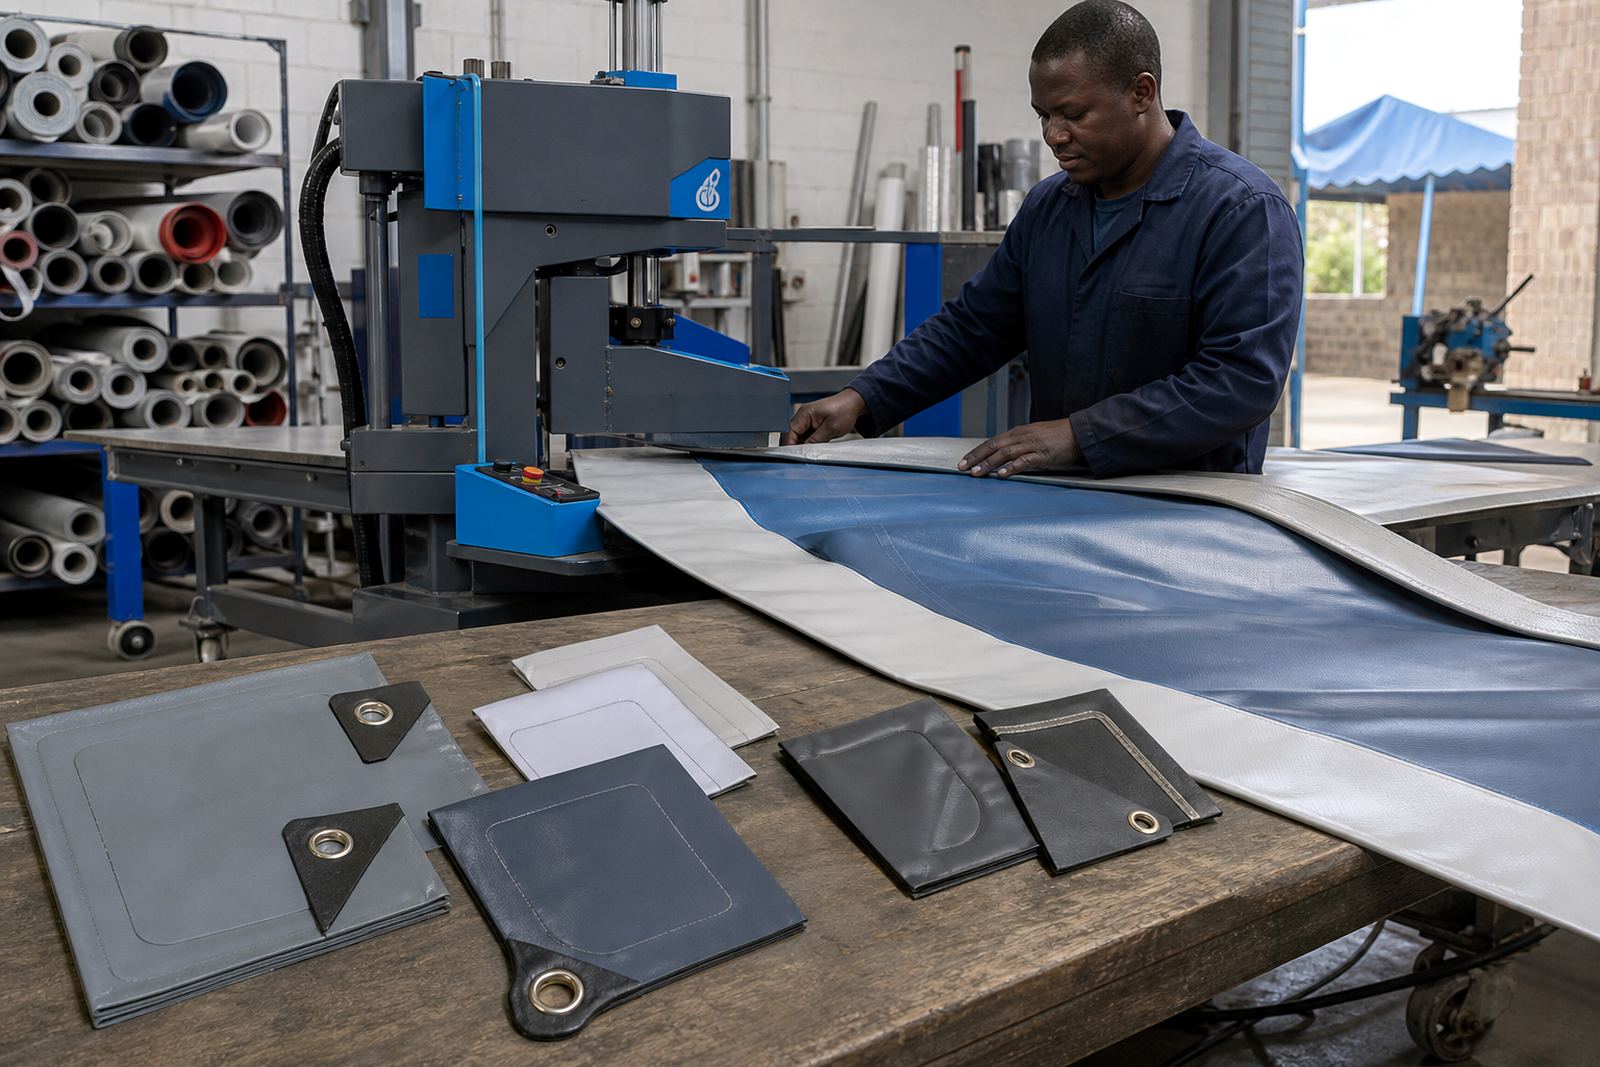
Typical corner builds may include a folded hem, an extra patch, a boxed corner, or a shaped reinforcement piece that sits under the main seam. On some jobs the corner must also carry an eyelet, rope path or keder edge, so the reinforcement has to support both the fixing point and the weld line.
- Tarpaulins: corners often need heavier reinforcement because of tie-down tension and movement during transport.
- Banners: corners should stay neat, flat and balanced so the graphic area does not pucker.
- Tent panels: corners need room for repeated assembly and load from poles, ropes or pegging points.
Hems, keder and eyelets in one working line
Corner reinforcement works best when it forms part of the full edge system. A hem carries the edge, keder gives the panel its fixing profile, and eyelets provide tie points where needed. If these elements are welded in the wrong order, the corner can become too thick or the fold can trap air and create a weak spot. The operator needs to set out the job so each layer sits where it should before the weld is made.
With high-frequency welding, a clean seam is especially useful for hems that must stay flat and even across long lengths. Hot-air and hot-wedge systems can also produce reliable hems on PVC-coated fabric when the temperature, pressure and travel speed are kept steady. Around the corner, the trick is to avoid forcing the material into a tight bend that leaves a ridge or a pocket under the weld.
Eyelet positions should be planned after the corner build is fixed, not guessed on the fly. A well placed eyelet sits in reinforced material with enough border around it to stop the pull from cutting into the edge. On keder edges, the corner must allow the profile to continue without bunching or opening at the weld start and finish.
Machine settings and operator control at the corner
Corner welding needs good machine control, not only power. On high-frequency machines, the operator must set the pressure, timing and alignment so the electrode bonds the layers without overheating the outer edge. On hot-air and hot-wedge welders, the nozzle or wedge position, speed and clamping pressure all affect how the corner takes the seam. If the settings are too aggressive, the edge can shrink or curl. If they are too light, the weld can look neat but fail under pull.
Safety also matters. Corners are often handled close to the weld area, and operators should keep hands clear of heated surfaces, moving rollers and clamping points. Good training helps the team recognise when a seam is not sitting flat, when the fabric has shifted, or when a patch has been cut too small for the load it must carry.
- Check that the corner layers are aligned before the weld starts.
- Keep the overlap even so the bond area stays consistent.
- Watch for trapped creases, they often become split points later.
- Let the finished corner cool in shape before handling or stacking.
Service work that keeps corner welds consistent
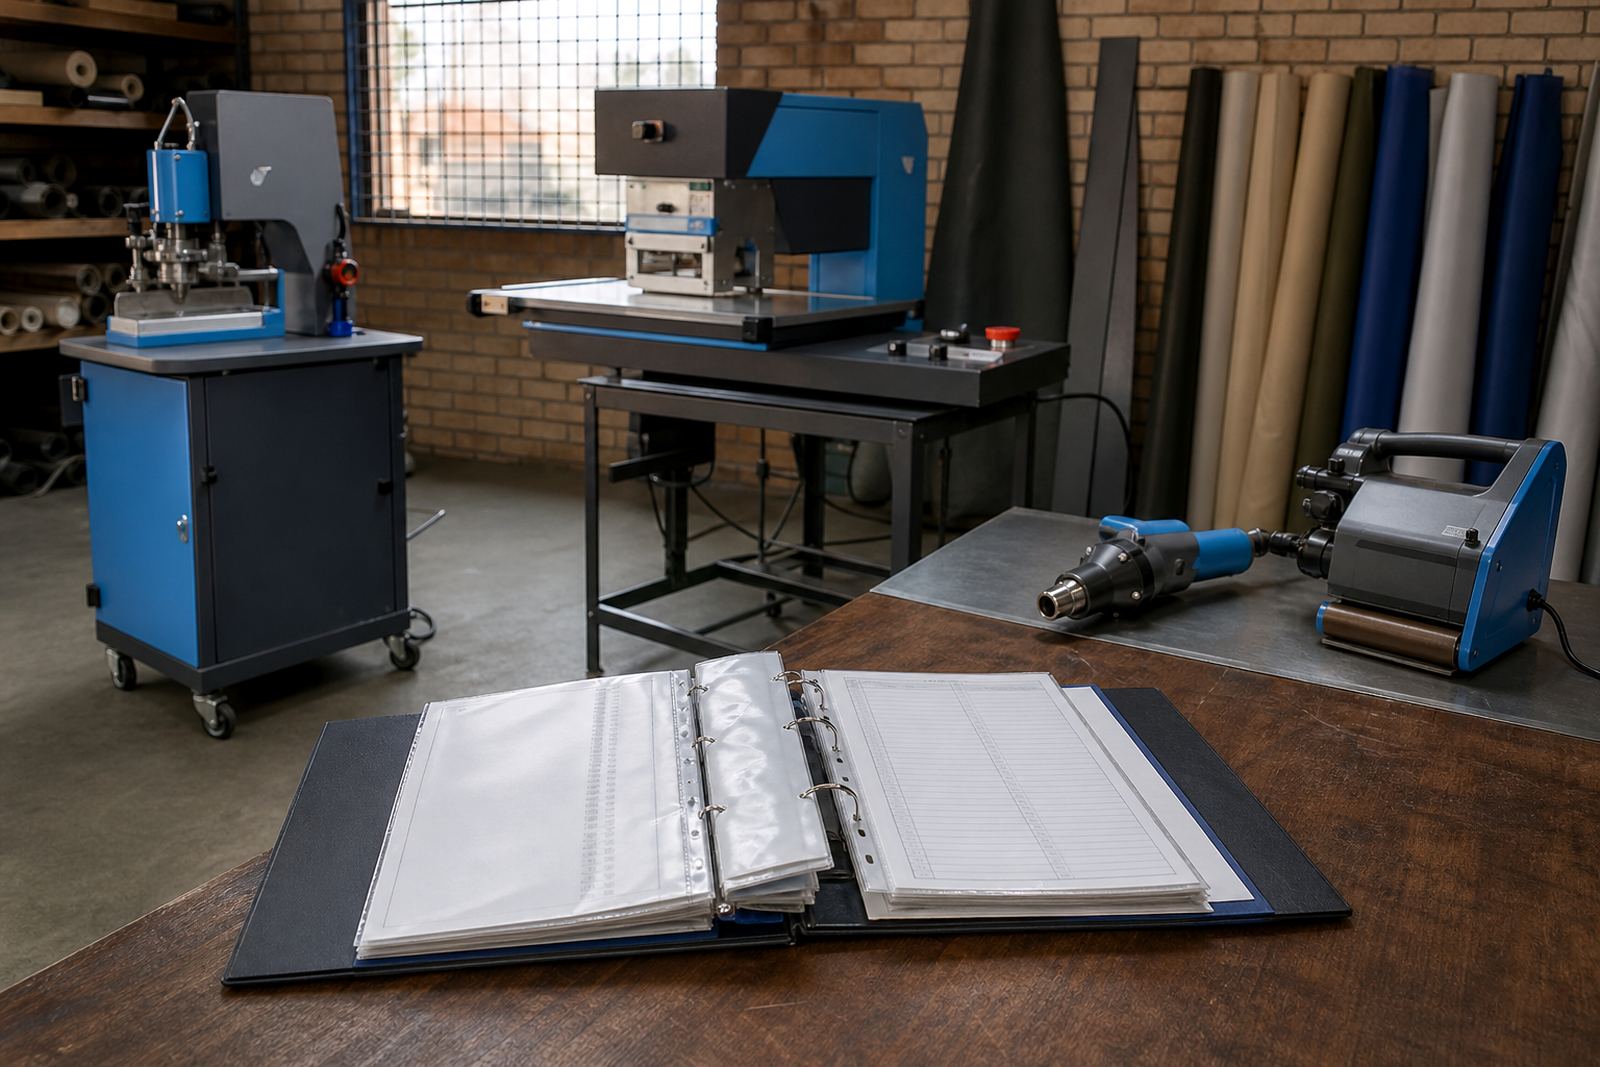
Corner quality depends on the machine as much as the pattern. A welder with worn tooling, poor alignment or dirty contact surfaces can leave a weak corner even when the operator does everything right. Preventive servicing, electrode refurbishment, roller replacement and tooling alignment all help keep the weld even from the centre of the panel right through to the edge. That is important in humid coastal conditions too, where storage and daily use can add extra strain to the finished product.
For tarpaulin, banner and tent makers, it is worth checking corner seams during routine servicing, not only after a failure. A short seam test on sample material can show whether the settings are still holding the right bond and whether the weld edge is clean. If a machine starts leaving a narrow bond, uneven pressure mark or slight edge lift, the corner will usually show it first.
A Germiston example from workshop to site
A workshop in Germiston making large PVC covers for distribution work had repeated tearing at the lower corners of the rear panel. The team had plenty of material in the main body, but the corner patch was too small and the hem ended too close to the eyelet line. The pull from tiedown straps was concentrating in one point and the weld edge was lifting after only a few runs. By changing the corner layout, widening the patch, and moving the seam line slightly further in, the load spread more evenly and the failure stopped showing up at the same spot.
That kind of adjustment is ordinary workshop work, but it saves material, time and frustration. Corner reinforcement is not only an extra piece added at the end. It is part of the whole pattern, from the first cut to the final weld. When the corner is built with the load in mind, the product keeps its shape longer and the seam holds together where it is needed most.