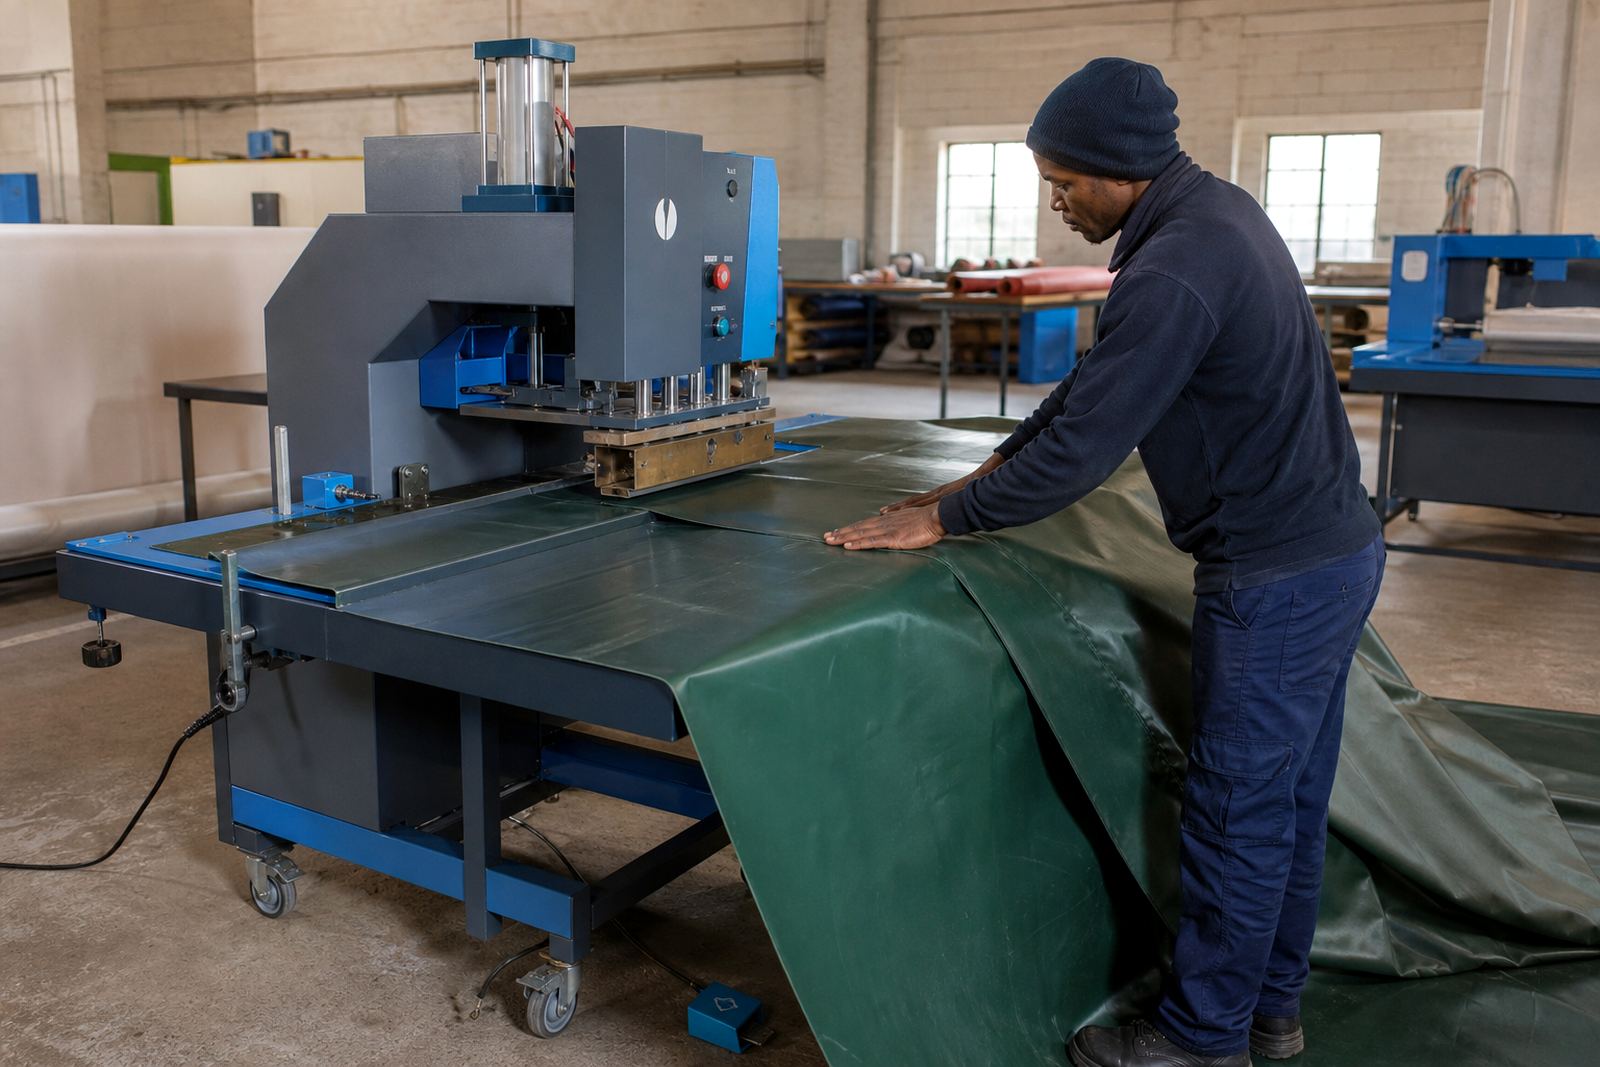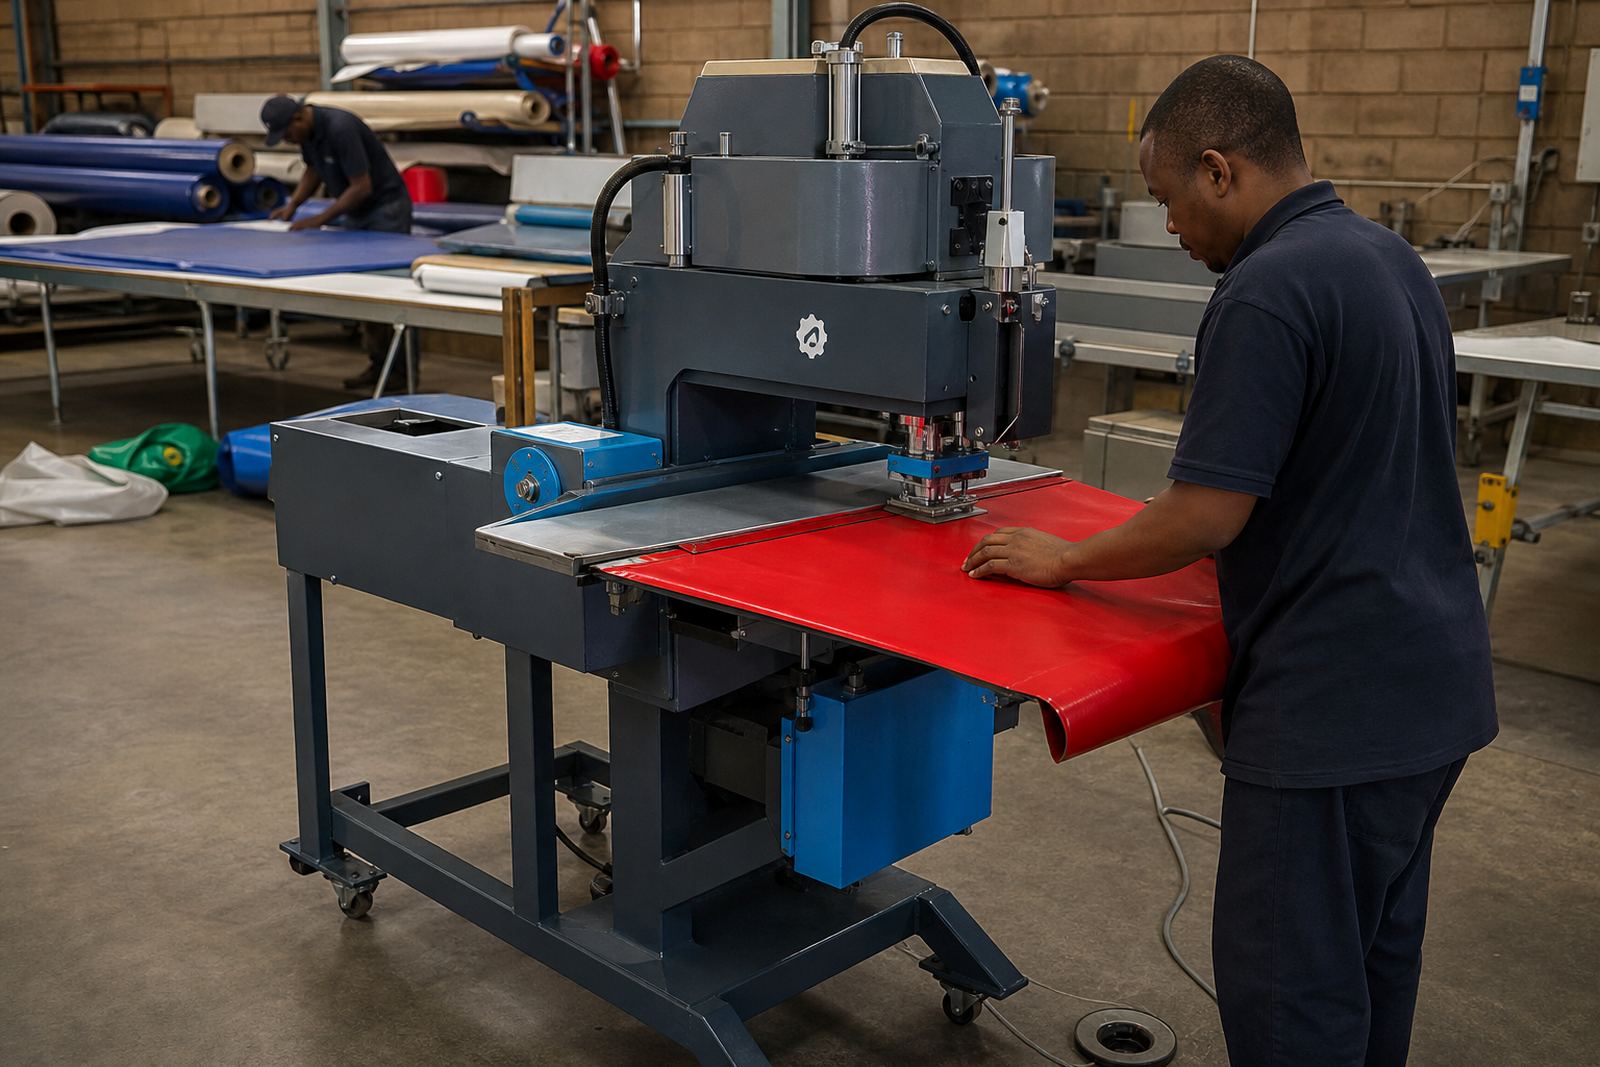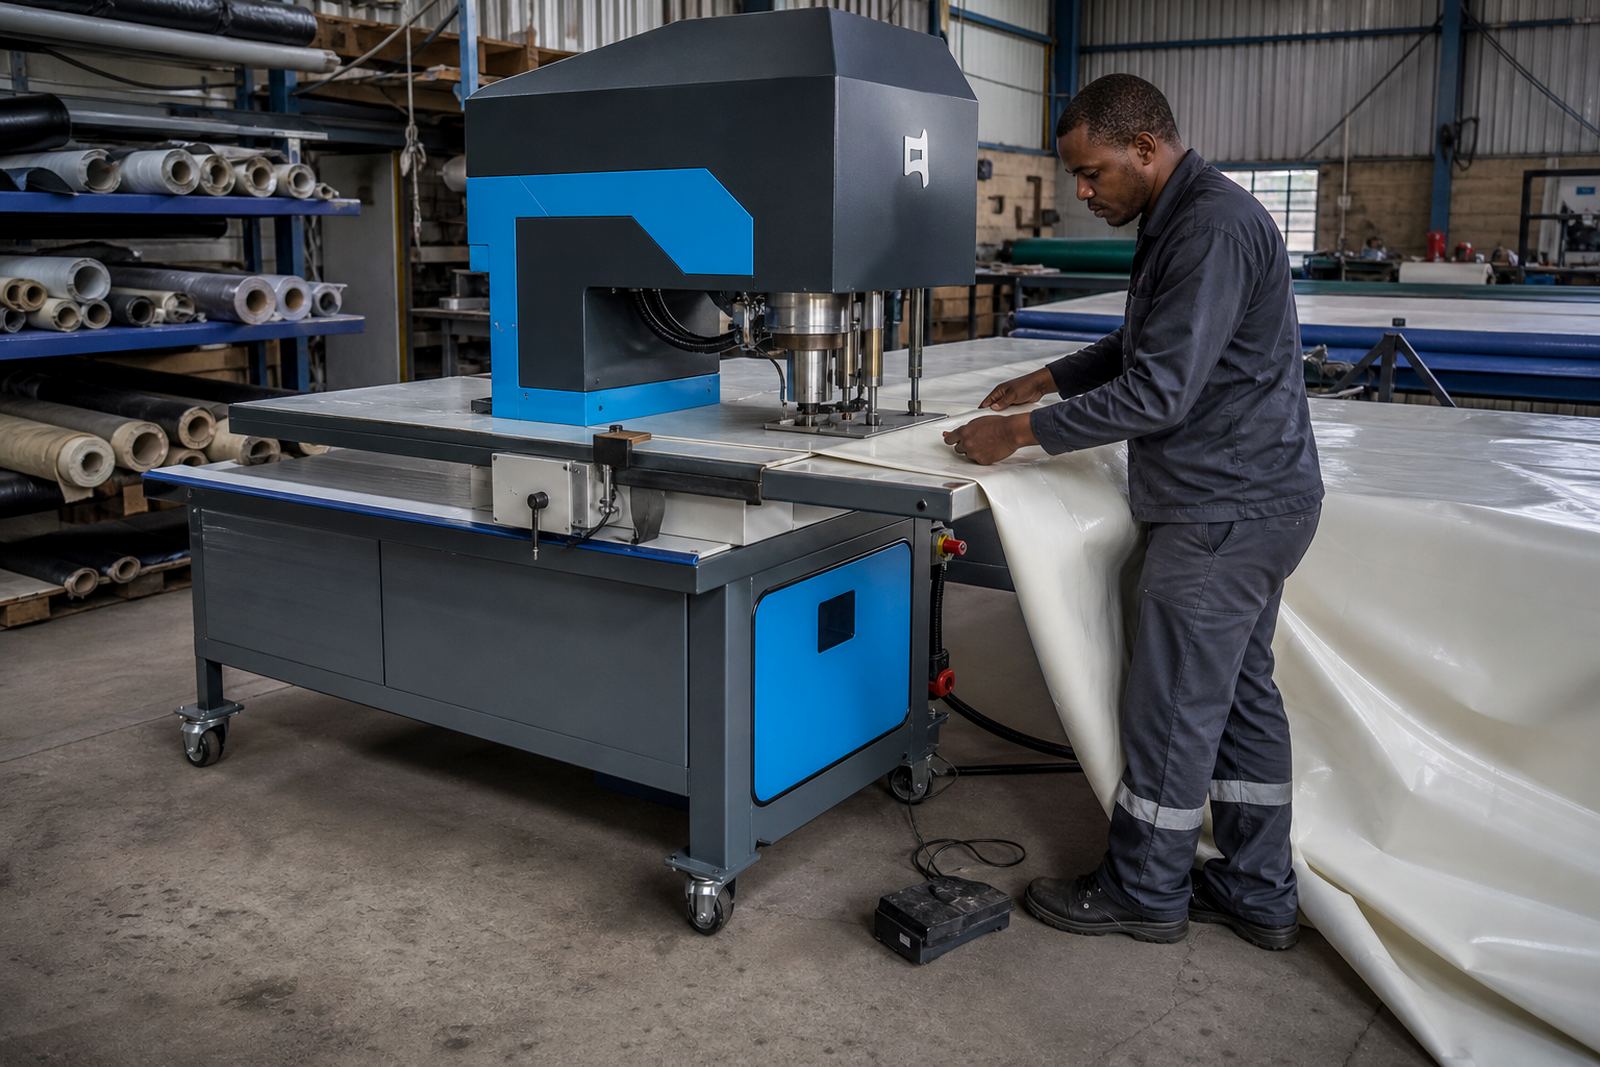

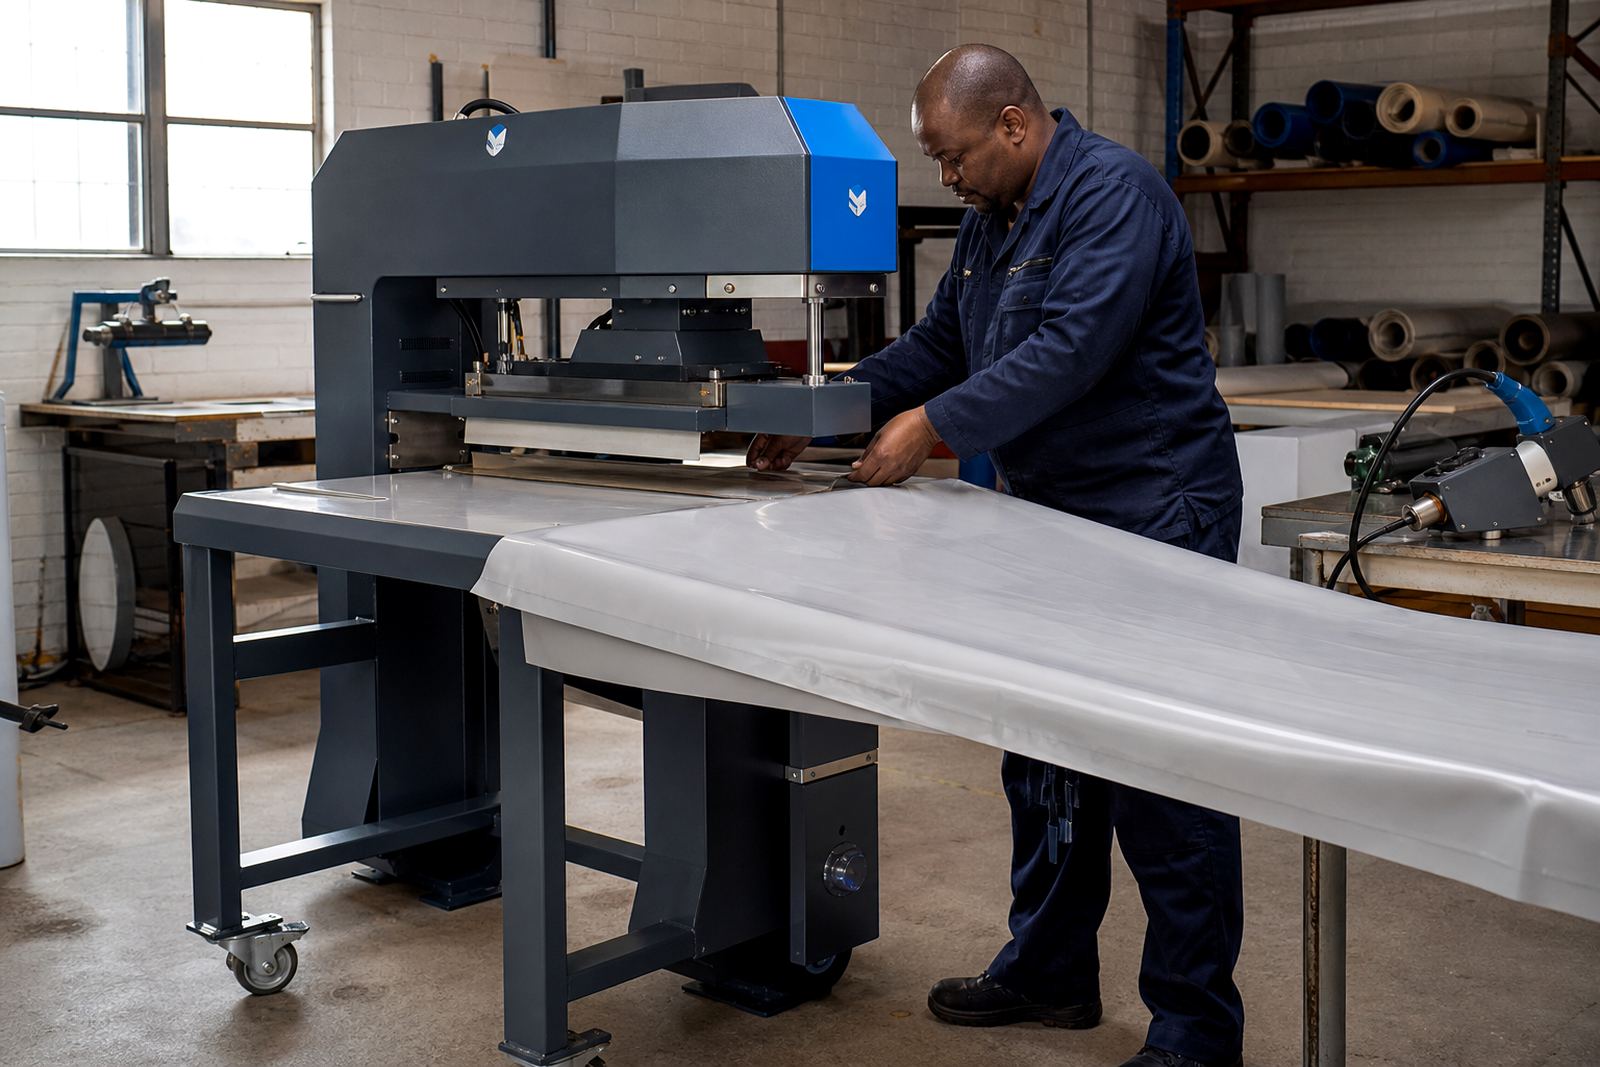
Start with the seam, not the machine
When a seam fails, look at the finished joint first. Check whether the issue is a full weak seam, a patchy bond, scorch marks, ripples, a shiny glazed line, or marking on the face of the PVC-coated fabric. Each pattern points to a different cause, and it helps to compare the fault with a good seam from the same roll or job lot.
For tarpaulins, banners and tent panels, the main checks are the same: material type, overlap width, surface cleanliness, heat delivery, dwell time and pressure. If the problem appears only on one side of a panel or one lane of a machine, the fault is often in alignment, tooling condition or a local heat issue.
Heat and pressure settings that leave a weak bond
High-frequency welding depends on even energy transfer through the tooling, while hot-air and hot-wedge systems rely on consistent heat, speed and pressure. If the seam pulls apart easily, first confirm that the machine is reaching the set operating range and holding it under load. A setting that works on a cool morning in Germiston may need adjustment on a hot afternoon in Durban, especially on thicker PVC-coated fabrics.
- Check that the overlap is wide enough for the seam type being used.
- Confirm that pressure is even across the full width of the weld.
- Look for dwell time that is too short, which can leave the centre of the seam under-bonded.
- Watch for excess heat that causes a glossy, brittle surface or a marked edge.
- Test a short sample before running the full batch, especially after a material change.
If a seam is consistently weak in the same position, the issue may be uneven pressure from the roller, platen or wedge assembly, not the material itself.
Marks, shine and burn lines on PVC fabric
Visible marks are often caused by heat, contamination or worn tooling surfaces. On banner work, a small mark may still be acceptable, but on display panels and tent sections it can be a rejection point. Black dust, adhesive residue and dirt trapped between the surfaces can also leave print-through or small burn spots that look like heat damage.
- Clean the welding area, guides and contact surfaces before starting a run.
- Inspect the electrode, shoe, roller or wedge for wear, grooves and buildup.
- Check that the fabric face is not folded or trapped under the seam line.
- Reduce heat or speed if the surface is glazing before the bond forms.
- Make sure cooling time is long enough before the seam is handled or stacked.
Coastal humidity can also change how a material behaves in storage and during welding. Rolls stored near open doors or damp floors may act differently from dry stock, so keep that in mind when a mark appears only on one roll.
Uneven seams on hems, keder and eyelet work
Hems, keder sleeves and eyelet reinforcement panels each create a different load on the seam. A hem that looks fine on a flat test piece may pucker once the fabric is folded, and keder work can pull to one side if the feed is not square. Eyelet areas are sensitive to alignment because the weld must support later punching and tension.
Check these points when the seam looks uneven or distorted:
- The fold line is straight and held evenly before welding.
- The keder is seated consistently along the full length.
- Reinforcement patches are cut to the same size and placed in the same position.
- The tooling follows the full width of the seam without lifting at one edge.
- Hole punching for eyelets is done after the weld has cooled and set.
If the seam drifts, check the guides, stops and any hand-fed alignment aids. Small errors add up quickly on long banner runs and tent panels.
What to inspect when the weld keeps failing
Persistent seam failure usually means there is a process issue rather than a one-off mistake. A quick inspection of the machine and material path can save a lot of rework. Start with the simplest causes first, then move to the electrical, mechanical or tooling side if the fault stays put.
- Look for worn rollers, damaged electrodes, bent guides or rough contact faces.
- Check that tooling is lined up square to the seam path.
- Inspect power delivery and machine controls for unstable operation on mains-powered units.
- Review whether the same fault appears on all shifts or only with one operator.
- Confirm that the material thickness, coating and fabric weave match the setting used.
In workshops that run several welders, it helps to compare one machine against another. If only one unit marks the fabric or gives a weak seam, the fault is often mechanical and can be isolated faster with side by side testing.
Safe checks before the next run
Safety matters when troubleshooting because most seam faults lead operators to make repeated test welds. That can create heat build-up, sharp edges and moving-part risks. Switch off and isolate the machine before touching tooling, cleaning contact faces or checking internal parts. Keep hands clear of rollers, wedges and clamping areas.
Use a short test strip rather than a full panel when checking settings. Keep records of the setting, material type and seam result so the next adjustment is based on evidence, not guesswork. For service work, a regular inspection of electrodes, rollers, heating elements and alignment parts helps prevent repeat faults before they reach production.
When a service call makes sense
If the same fault returns after normal checks, the machine may need tooling alignment, electrode refurbishment, roller replacement or a deeper fault finding visit. That is especially true when seams fail on long production runs, when multiple operators report the same issue, or when the weld quality changes after warm-up.
Our Germiston support team works with tarpaulin, banner and tent makers across Johannesburg, Pretoria, Durban, Cape Town and Bloemfontein, as well as Boksburg and Benoni. For site callouts, parts supply, preventive servicing, operator training or seam testing, clients reach us through the enquiry form on our contact page.